Whether you’re a seasoned baker or a novice in the kitchen, there’s something undeniably comforting about the aroma of freshly baked scones wafting through the air. These delectable treats, which strike the perfect balance between flaky and tender, are a staple in many households. In this article, we’ll dive into the wonderful world of scones, exploring the art of making them from scratch. Get ready to embark on a baking adventure that will leave you with a batch of mouthwatering scones to savor.
[ez-toc]
History
Scones, those delightful treats that have graced countless teatime gatherings and breakfast tables, have a history as rich and varied as their flavors. Let’s take a journey through time to unravel the fascinating story behind these baked wonders.
Ancient Origins of Scones
The roots of scones can be traced back to the earliest days of baking. The concept of combining simple ingredients like flour, water, and a bit of sweetener dates back to the ancient civilizations of Scotland and Ireland. These early forms of scones were cooked on griddles over open fires, yielding dense and unleavened bread-like creations.
Rise of Leavening Agents
As culinary techniques evolved, the introduction of leavening agents marked a turning point in the history of scones. Baking powder, a crucial ingredient in today’s scone recipes, wasn’t invented until the 19th century. This innovation brought about a transformation in scone texture, making them lighter and more delicate.
Teatime Tradition Takes Hold
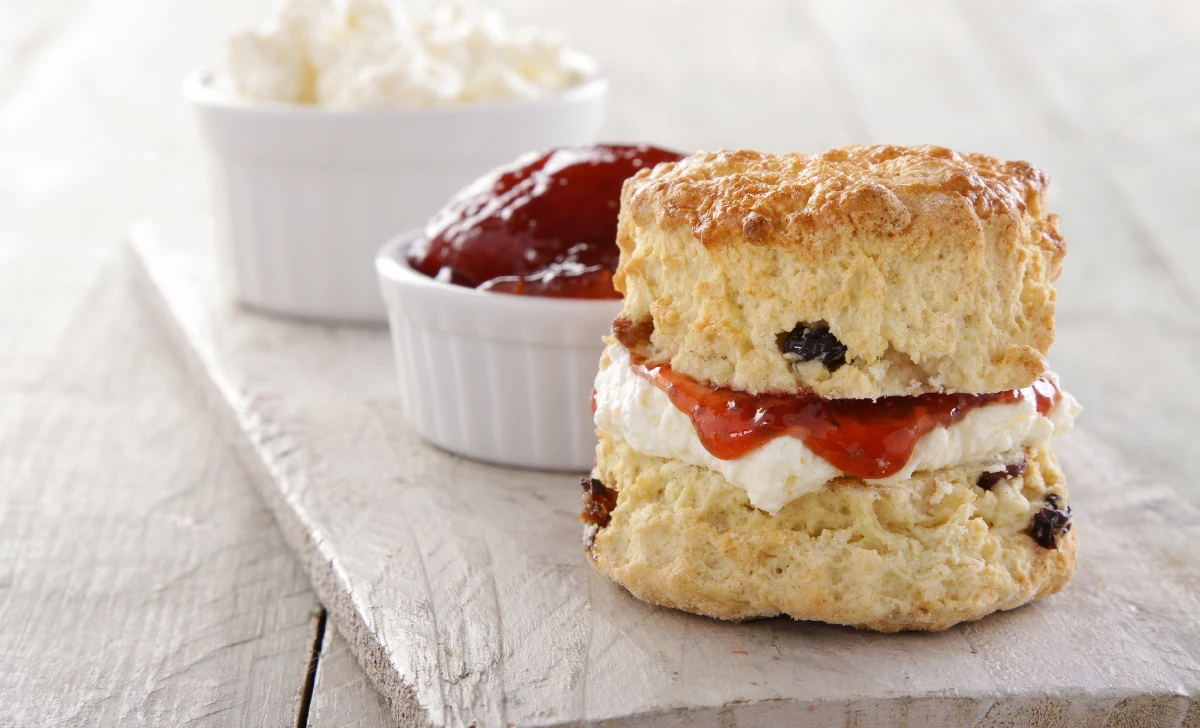
In the 19th century, as British teatime rituals gained popularity, scones found their perfect companion. Served alongside clotted cream and preserves, scones became an essential element of the traditional afternoon tea experience. This trend catapulted scones into the hearts of households across the UK and beyond.
Scone Variations Emerge
As scones spread across the globe, they absorbed local flavors and ingredients, giving rise to various regional variations. In the United States, for instance, scones took on a sweeter profile, often studded with fruits, nuts, and even chocolate chips. These American adaptations showcased the versatility of the humble scone, adapting to different palates and culinary preferences.
Modern-Day Scone Renaissance
In recent decades, scones have experienced a renaissance thanks to the revival of interest in baking and artisanal food. Bakers and home cooks alike have embraced scones as a canvas for creativity, experimenting with a wide range of flavors and ingredients. From savory options like cheddar and chive to exotic combinations like cranberry-orange, scones have entered an era of boundless possibilities.
Scones for All Dietary Needs
With the growing awareness of dietary restrictions, the world of scones has also adapted. Gluten-free flours and dairy-free alternatives have enabled those with sensitivities to still enjoy the pleasure of scones without compromise. This inclusive approach ensures that everyone can savor the magic of freshly baked scones.
Time
| Step | Time |
|---|---|
| Mixing Magic | |
| Combining Dry Ingredients | 5 minutes |
| Incorporating Cold Butter | 10 minutes |
| Adding a Touch of Sweetness | 5 minutes |
| The Role of Baking Powder and Salt | 3 minutes |
| Bringing It All Together | |
| Blending with Heavy Cream | 5 minutes |
| Gently Does It: Avoiding Overmixing | 2 minutes |
| Fold in the Goodness: Adding Fruits or Nuts | 3 minutes |
| Shaping and Baking | |
| Forming the Dough: Pat vs. Roll | 5 minutes |
| Brushing with Cream: A Golden Touch | 2 minutes |
| Into the Oven: The Perfect Bake | 15-20 minutes |
| The Grand Reveal | |
| A Beautiful Golden Brown (Visual Check) | |
| The Toothpick Test: Fully Baked Scones | 1 minute |
| Cooling on a Rack: Patience is a Virtue | 15 minutes |
Ingredients
| Ingredients | Quantity for 2 Persons |
|---|---|
| All-Purpose Flour | 1 cup |
| Unsalted Butter | 4 tablespoons |
| Granulated Sugar | 2 tablespoons |
| Baking Powder | 1 1/2 teaspoons |
| Salt | 1/4 teaspoon |
| Heavy Cream | 1/2 cup |
| Add-Ins (Fruits, Nuts, etc.) | As desired |
Directions
Mixing Magic
- Combining Dry Ingredients
- In a large mixing bowl, whisk together 1 cup of all-purpose flour, 2 tablespoons of granulated sugar, 1 1/2 teaspoons of baking powder, and 1/4 teaspoon of salt.
- Incorporating Cold Butter
- Grate 4 tablespoons of unsalted butter into the dry ingredient mixture. Use your fingers to gently rub the butter into the flour until the mixture resembles coarse crumbs.
- Adding a Touch of Sweetness
- If making sweet scones, mix 2 tablespoons of granulated sugar into the dry ingredients and butter mixture.
- The Role of Baking Powder and Salt
- Ensure an even distribution of baking powder and salt throughout the mixture for consistent rise and flavor enhancement.
Bringing It All Together
- Blending with Heavy Cream
- Pour 1/2 cup of heavy cream into the mixture. Gently fold the ingredients together until the dough starts to come together.
- Gently Does It: Avoiding Overmixing
- Be careful not to overmix. A few gentle folds are sufficient to combine the ingredients and create a shaggy dough.
- Fold in the Goodness: Adding Fruits or Nuts
- If desired, add your choice of add-ins, such as fruits or nuts, and fold them into the dough for extra flavor and texture.
Shaping and Baking
- Forming the Dough: Pat vs. Roll
- Turn the dough out onto a lightly floured surface. Pat or gently roll the dough to a thickness of about 1 inch.
- Brushing with Cream: A Golden Touch
- Brush the top of the dough with a bit of heavy cream. This will give your scones a beautiful golden-brown finish.
- Into the Oven: The Perfect Bake
- Preheat your oven to 400°F (200°C). Place the shaped dough on a baking sheet lined with parchment paper. Bake for 15-20 minutes, or until the scones are golden brown and cooked through.
The Grand Reveal
- A Beautiful Golden Brown (Visual Check)
- Peek into the oven occasionally to admire the transformation of your scones as they turn a delightful golden hue.
- The Toothpick Test: Fully Baked Scones
- Insert a toothpick into the center of a scone. If it comes out clean, your scones are fully baked and ready to be enjoyed.
- Cooling on a Rack: Patience is a Virtue
- Transfer the freshly baked scones to a wire rack to cool for about 15 minutes before serving.
Equipment Required
Nutrition Information
| Nutrition Information | Per Serving (1 Scone) |
|---|---|
| Serving Size | 1 scone |
| Calories | ~200 calories |
| Total Fat | ~10g |
| Saturated Fat | ~6g |
| Cholesterol | ~30mg |
| Sodium | ~250mg |
| Total Carbohydrates | ~24g |
| Dietary Fiber | ~1g |
| Sugars | ~6g |
| Protein | ~3g |
Note: Nutritional values are approximate and can vary based on specific ingredients and portion sizes.
Tips
- Chill the Ingredients: Ensure that both the butter and heavy cream are cold. Cold butter creates flakiness, and cold cream helps maintain the scones’ structure.
- Handle the Dough with Care: When mixing and shaping the dough, use a gentle touch. Overworking the dough can result in tough scones.
- Add-Ins: Experiment with a variety of add-ins, such as dried fruits, chopped nuts, chocolate chips, or even savory options like shredded cheese and herbs.
- Size Matters: When shaping the dough, consider the desired size of your scones. You can create larger scones for a hearty breakfast or smaller ones for a dainty teatime treat.
- Even Thickness: Ensure the dough is rolled or patted to an even thickness to promote even baking.
- Golden Brown Rule: Keep an eye on the scones while baking. A beautiful golden-brown color indicates they are done.
- Rest and Cool: Allow the scones to rest on a wire rack after baking to avoid moisture buildup on the bottom.
Pros & Cons
| Pros | Cons |
|---|---|
| ✔️ Delightful teatime treat | ❌ Requires precise ingredient measurements |
| ✔️ Versatile customization options | ❌ May result in varying textures |
| ✔️ Easy step-by-step guide | ❌ Short shelf life |
| ✔️ Quick baking time | ❌ High-calorie content |
| ✔️ Perfect for various occasions | ❌ May not suit all dietary needs |
Conclusion
In conclusion, embarking on a journey to bake your own perfect scones is a delightful adventure that promises to fill your kitchen with the warm aroma of freshly baked goodness. With an array of customizable flavors and textures, scones provide a canvas for creativity that suits any occasion, from elegant teatime gatherings to cozy breakfasts. Through each step, from mixing the magical ingredients to experiencing the grand reveal of golden-brown delights, you’re not just baking scones – you’re crafting memories and savoring moments of joy.
Remember, this scone recipe isn’t just about achieving a delicious outcome; it’s about the process itself, the act of bringing together simple ingredients to create something extraordinary. So, whether you’re a seasoned baker seeking a new culinary endeavor or a beginner eager to dip your toes into the world of baking, these scones are the perfect starting point.
Gather your ingredients, follow the easy-to-understand steps, and allow your kitchen to transform into a haven of delectable scents and flavors. Experiment with add-ins, variations, and substitutions to truly make this recipe your own. And as you take that first bite of your warm, homemade scone, let the satisfaction of a job well done wash over you.
So, why wait? Dust off your apron, preheat the oven, and let the joy of baking fill your day. Share these scrumptious treats with loved ones or savor them in solitude. From the first sprinkle of flour to the last crumb on your plate, this scone recipe invites you to experience the magic of baking – an experience that’s both rewarding and simply delicious. Get ready to create, indulge, and enjoy a batch of scones that’s yours to savor and share. Happy baking! 🥐🧁🍽️
Facts
- Fact 1: Scones in Space 🚀
- Did you know that scones have even ventured into space? In 2015, British astronaut Tim Peake craved a taste of home and requested a special scone delivery to the International Space Station. The scones were baked on Earth, frozen, and then launched into orbit, giving a whole new meaning to “space food”!
- Fact 2: Scone Wars in Scotland ⚔️
- Scotland and England have had their share of disagreements, but did you know that scones were part of a historical rivalry? The argument over whether to spread jam or cream first on a scone led to the “Cream Tea Wars” between the two nations. It’s the delicious battle that keeps on giving!
- Fact 3: Scone Etiquette and Upside-Down Debate 🍰
- When it comes to enjoying scones, etiquette matters. In Cornwall, England, it’s tradition to spread the clotted cream first and then add jam on top of your scone. But in Devon, it’s the other way around! The debate continues: jam first or cream first?
- Fact 4: The Great Scone Name Debate 📚
- The pronunciation of “scone” isn’t just a matter of taste; it’s regional! In the UK, the pronunciation varies from “skon” (rhyming with “gone”) to “skoan” (rhyming with “loan”). The scone name debate is almost as old as the treat itself.
- Fact 5: Guinness World Record for Largest Scone 🏆
- If you thought your scones were impressive, wait until you hear about the largest scone ever made. In 2010, a team in Wales baked a scone weighing a whopping 1,356 kg (2,998 lbs), earning them a Guinness World Record for the biggest scone on the planet!
FAQ’s
Can I use whole wheat flour instead of all-purpose flour for this recipe?
Yes, you can! Whole wheat flour will give your scones a heartier flavor and texture. However, keep in mind that the scones might be slightly denser.
How do I prevent my scones from turning out dry?
To prevent dry scones, ensure you don’t overmix the dough and that you measure the flour accurately. Adding the right amount of heavy cream and not overbaking them will also help maintain moisture.
Can I freeze scone dough for later baking?
Absolutely! Shape the dough into scones, freeze them on a baking sheet until firm, then transfer to a zip-top bag. When ready to bake, simply place the frozen scones on a baking sheet and add a few extra minutes to the baking time.
Can I substitute dairy-free options for the heavy cream and butter?
Yes, you can use dairy-free alternatives such as coconut cream and vegan butter to make the recipe dairy-free. Keep in mind that the flavor and texture might differ slightly.
How long can I store baked scones?
Baked scones are best enjoyed fresh on the same day they are baked. However, you can store them in an airtight container at room temperature for up to 2 days or freeze them for up to a month.
What’s the secret to achieving flaky scones?
Using cold butter and not overmixing the dough are the keys to achieving flaky scones. The small pockets of cold butter melt during baking, creating those sought-after flaky layers.
Can I make these scones ahead of time for a special occasion?
Yes, you can! Prepare the dough and shape the scones a day ahead, refrigerate them, and then bake them fresh on the day of the occasion for the best taste and texture.
Can I make smaller scones for a tea party?
Absolutely! Adjust the size of the dough portions before shaping to create smaller scones that are perfect for tea parties. Just remember to adjust the baking time accordingly.
My scones didn’t rise as much as I hoped. What could have gone wrong?
Several factors can affect scone rise, including expired baking powder, overmixing the dough, or not using enough baking powder. Double-check your ingredients and technique for better results.
Can I make savory scones instead of sweet ones?
Definitely! Omit the sugar and add ingredients like grated cheese, herbs, or even sun-dried tomatoes for a delicious savory twist to your scones.