If there’s one dessert that embodies elegance and indulgence, it’s the beloved Crème Brûlée. With its creamy custard base and tantalizingly crisp caramelized sugar top, this classic French treat has a way of making any meal feel like a special occasion. Whether you’re a seasoned chef or a kitchen novice, this article will guide you through every step of crafting the perfect Crème Brûlée. So, don your apron and let’s dive into the world of culinary enchantment!
[ez-toc]
History
The sumptuous and sophisticated dessert we know as Crème Brûlée has a rich history that spans centuries and continents. This delightful treat, with its creamy custard base and crackling caramelized sugar top, has captured the hearts and palates of dessert enthusiasts worldwide. Let’s embark on a journey through time to uncover the intriguing history behind this culinary masterpiece.
Ancient Beginnings: Custard’s Genesis
The origins of Crème Brûlée can be traced back to the custards and puddings enjoyed by ancient civilizations. The concept of combining eggs, milk, and sweeteners dates as far back as Ancient Rome and Medieval Europe. These custards were often flavored with spices and sweeteners like honey, giving birth to the basic idea of the dessert we cherish today.
Evolution in European Kitchens: Renaissance and Beyond
As Europe emerged from the Dark Ages and entered the Renaissance, culinary creativity flourished. French and English kitchens refined custard recipes, perfecting the balance of flavors and textures. During this time, “burnt cream” was not just a dessert but a status symbol, enjoyed by the aristocracy as a testament to their refined tastes.
From Burnt Cream to Brûlée: The Emergence of Caramelized Sugar
The transformation from simple custard to the Crème Brûlée we recognize happened over centuries. The ingenious addition of caramelized sugar, with its characteristic crunch, elevated the dessert to new heights. The technique of using a red-hot iron to caramelize sugar on top of the custard was documented as early as the 17th century in the French cookbook “Le Cuisinier Royal et Bourgeois.” This marked the beginning of the dessert’s iconic textured contrast.
International Influence: Crème Brûlée Across Continents
As exploration and trade spread across the globe, culinary traditions intermingled. Crème Brûlée found its way to different corners of the world, adapting to local ingredients and preferences. In Spain, “Crema Catalana” emerged, a close cousin to Crème Brûlée, featuring citrus zest and cinnamon. This regional variation showcased the dessert’s versatility and adaptability.
Modern Revival and Popularity
The 20th century witnessed a resurgence of interest in traditional recipes, and Crème Brûlée took its well-deserved place in the culinary spotlight. With the rise of gourmet dining and celebrity chefs, this classic dessert experienced a renaissance. Its appearance on the menus of prestigious restaurants and cooking shows contributed to its popularity among food enthusiasts.
Home Kitchens and Creative Twists
With the advent of cooking shows, blogs, and social media, Crème Brûlée has become an approachable delight for home cooks. People around the world began experimenting with flavors and techniques, giving rise to a plethora of exciting variations. From exotic fruit infusions to unconventional spices, Crème Brûlée has evolved beyond its original confines while preserving its core essence.
Time
| Step | Time |
|---|---|
| Infusing the Cream | 15 minutes |
| Whisking the Eggs | 10 minutes |
| Combining the Mixtures | 5 minutes |
| Baking the Custard | 45 minutes |
| Chilling and Setting | 2 hours |
| Creating the Caramelized Sugar Top | 10 minutes |
| Presentation and Garnishes | 5 minutes |
Ingredients
| Ingredients | Quantity |
|---|---|
| Heavy cream | 1 cup |
| Egg yolks | 3 |
| Granulated sugar | 1/4 cup |
| Vanilla extract | 1 teaspoon |
| Pinch of salt | A pinch |
Directions
Step 1: Infusing the Cream
- In a saucepan, heat 1 cup of heavy cream over low heat until it’s warm but not boiling.
- Stir in 1 teaspoon of vanilla extract to infuse the cream with its aromatic essence.
- Remove the saucepan from heat and set it aside to cool slightly.
Step 2: Whisking the Eggs
- In a mixing bowl, whisk 3 egg yolks until they become pale and slightly thickened.
- Gradually add 1/4 cup of granulated sugar to the egg yolks, continuing to whisk until the mixture is smooth and creamy.
Step 3: Combining the Mixtures
- Slowly pour the warm infused cream into the bowl with the egg mixture, whisking constantly as you do to prevent the eggs from scrambling.
- Strain the combined mixture through a fine-mesh sieve to ensure a silky-smooth texture without any lumps.
Step 4: Baking the Custard
- Preheat your oven to 325°F (165°C).
- Divide the strained custard mixture evenly among two ramekins placed in a baking dish.
- Fill the baking dish with hot water, enough to reach halfway up the sides of the ramekins. This creates a water bath for gentle and even baking.
- Carefully place the baking dish in the preheated oven and bake for approximately 40-45 minutes, or until the custard is set around the edges but slightly jiggly in the center.
Step 5: Chilling and Setting
- Once baked, remove the ramekins from the water bath and let them cool to room temperature.
- Cover the ramekins with plastic wrap and refrigerate them for at least 2 hours, or until the custard is fully chilled and set.
Step 6: Creating the Caramelized Sugar Top
- Sprinkle a thin and even layer of granulated sugar over the top of each chilled custard.
- Using a kitchen torch, caramelize the sugar by holding the torch at an angle and moving it across the sugar until it melts and turns golden brown, creating a crisp sugar crust.
Step 7: Presentation and Garnishes
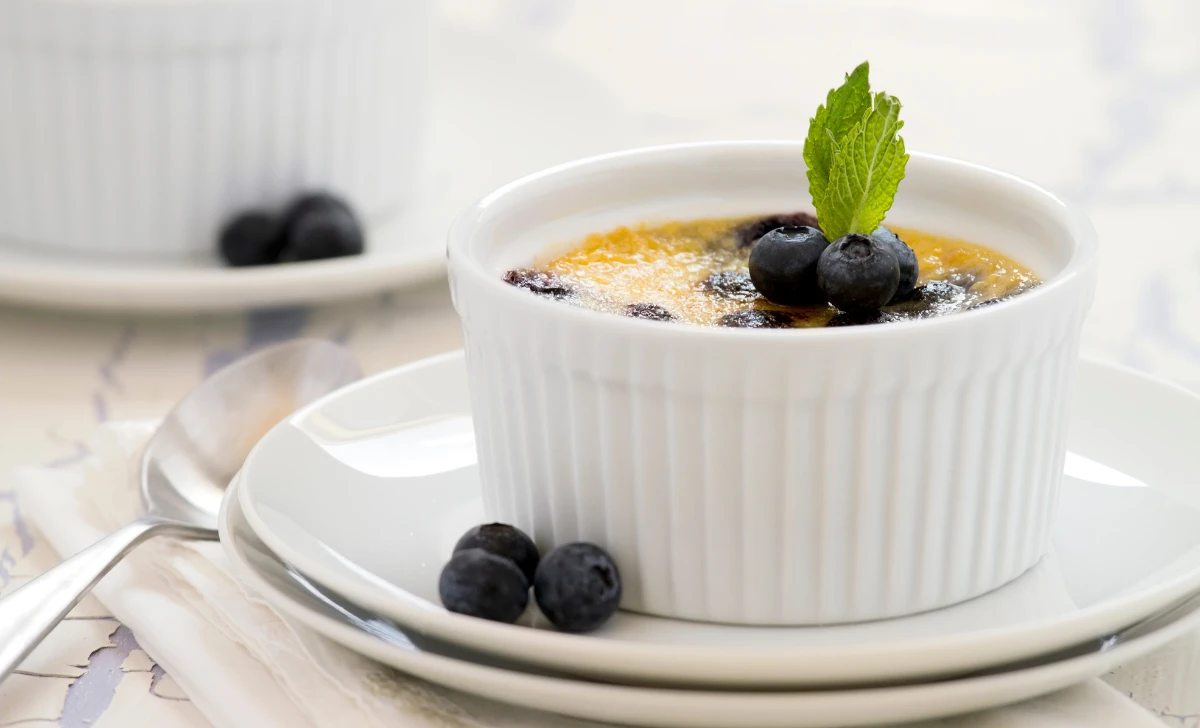
- Garnish your Crème Brûlée with a few fresh berries or a sprig of mint to add a touch of color and freshness.
- Serve immediately and enjoy the harmonious contrast between the caramelized top and the smooth custard beneath.
With these clear and concise directions, you’re well-equipped to create a delectable Crème Brûlée that’s sure to impress your taste buds and those of your lucky dining companion.
Equipment Required
Nutrition Information
| Nutrition Information | Per Serving (2 persons) |
|---|---|
| Serving Size | 1 ramekin |
| Calories | ~400 |
| Total Fat | 30g |
| – Saturated Fat | 18g |
| Cholesterol | 375mg |
| Sodium | 40mg |
| Total Carbohydrates | 30g |
| – Dietary Fiber | 0g |
| – Sugars | 25g |
| Protein | 6g |
Please note that these values are approximate and can vary based on the specific ingredients and portion sizes used. It’s always a good idea to refer to the nutritional labels on the ingredients you use or consult with a registered dietitian for more accurate information.
Tips
- Temperature Control: When infusing the cream, avoid overheating it. The cream should be warm, not boiling, to prevent curdling.
- Straining for Smoothness: Straining the custard mixture after combining helps ensure a velvety texture by removing any bits of cooked egg or vanilla bean.
- Water Bath Precision: When placing the ramekins in the water bath, ensure the water doesn’t seep into the custard, as this can affect the texture.
- Patience in Chilling: Allow enough time for the custard to chill and set properly in the refrigerator. This step is crucial for the perfect texture.
- Even Sugar Layer: For an evenly caramelized sugar top, ensure you sprinkle a thin and uniform layer of sugar over the custard.
- Torch Technique: When using a kitchen torch, keep it at a slight angle and move it smoothly over the sugar to achieve an even caramelization.
- Prevent Torch Burns: Use caution when torching the sugar; the ramekins will become hot. Hold the ramekins with a towel or oven mitt to avoid burns.
Pros & Cons
| Pros | Cons |
|---|---|
| ✅ Luxurious dessert that impresses guests | ❌ Requires specific kitchen torch |
| ✅ Perfect blend of creamy and crunchy textures | ❌ Slightly time-consuming to prepare and chill |
| ✅ Versatile—easy to customize with flavors | ❌ High in calories and saturated fat |
| ✅ Suitable for special occasions or date nights | ❌ Potential for sugar caramelization mishaps |
| ✅ Offers an elevated, restaurant-quality experience | ❌ Not suitable for those with dairy or egg allergies |
Conclusion
In the world of desserts, few treats encapsulate elegance, flavor, and indulgence quite like Crème Brûlée. From the delicate dance between the silky custard and the crackling caramelized sugar to the symphony of textures that play on your palate, this timeless dessert is a journey of senses that’s waiting to be savored.
As you’ve journeyed through the ins and outs of crafting the perfect Crème Brûlée, you’ve discovered that creating this culinary masterpiece is both an art and a science. From infusing the cream with aromatic vanilla to perfecting the technique of torching the sugar just right, every step is an opportunity to engage your creativity and embark on a culinary adventure.
The kitchen torch might seem like a tool reserved for professionals, but don’t let that discourage you. With a dash of patience, a sprinkle of curiosity, and a pinch of culinary courage, you’re well-equipped to craft this dessert masterpiece right in your own kitchen. Whether you’re indulging in a quiet evening for two or showcasing your culinary finesse at a dinner party, Crème Brûlée is a versatile delight that never fails to impress.
So, why wait for a special occasion? Take the plunge, gather your ingredients, and embrace the joy of creating a dessert that’s not just a treat for the taste buds, but a celebration of your culinary prowess. With each spoonful of velvety custard and every satisfying crack of caramelized sugar, you’ll find yourself immersed in a world of flavors that is as luxurious as it is delightful. Embrace the challenge, embrace the sweetness, and let the journey of making Crème Brûlée be as enchanting as the dessert itself. Happy cooking!
Facts
- Fact 1: A Toasty Origins 🍮🔥
- Did you know that the technique of caramelizing sugar on top of custards goes back to ancient Rome? Roman cooks used a hot iron to caramelize sugar, paving the way for the signature crackling top of today’s Crème Brûlée.
- Fact 2: Rebellious Beginnings 🎩💥
- Crème Brûlée was once a symbol of rebellion! During the French Revolution, it was dubbed “Trinity Cream” as a nod to the revolution’s slogan, “Liberty, Equality, Fraternity.” An indulgent dessert with a revolutionary spirit!
- Fact 3: A Fiery Renaissance 💃🔥
- In Renaissance Europe, Crème Brûlée wasn’t just a dessert—it was a performance! The hot iron used to caramelize the sugar was seen as a theatrical touch, turning a culinary delight into a dazzling spectacle.
- Fact 4: Royal Endorsement 👑🍮
- The French monarchy had a soft spot for Crème Brûlée. It’s rumored that King Louis XIV, also known as the “Sun King,” was quite the fan of this burnt cream dessert. A treat fit for royalty!
- Fact 5: Cracking the Code 🧐🔓
- The “crack” in Crème Brûlée’s caramelized top has a scientific explanation! The sugar top hardens due to caramelization, but the dessert’s delicious secret lies in the contrast between the brittle crust and the creamy custard beneath.
FAQ’s
Can I use a regular kitchen torch for caramelizing the sugar?
Yes, absolutely! A kitchen torch designed for culinary use is perfect for achieving the caramelized sugar top on your Crème Brûlée.
Can I make Crème Brûlée in advance?
Certainly! Prepare the custard and refrigerate it, but wait to caramelize the sugar until just before serving for the best texture.
Why did my sugar burn too quickly when using the torch?
Quick burning might result from having a thin sugar layer. Aim for an even and thin layer to ensure controlled caramelization.
Is Crème Brûlée gluten-free?
Yes, the classic Crème Brûlée recipe is naturally gluten-free since it doesn’t contain any wheat-based ingredients.
Can I use a different flavor instead of vanilla for the custard?
Absolutely! Feel free to experiment with flavors like lavender, coffee, or citrus to create your own unique twist on the classic recipe.
What if my custard turned out too runny?
If your custard is runny, it might not have baked long enough. Make sure to follow the recommended baking time and check for a set edge and a slightly jiggly center.
Can I substitute heavy cream with a lighter option?
While heavy cream provides the luxurious texture, you can try using half-and-half or whole milk, but the custard’s richness may vary.
My sugar didn’t caramelize evenly—what went wrong?
Uneven caramelization could be due to uneven sugar distribution. Make sure to sprinkle the sugar evenly for a consistent result.
What if I don’t have ramekins? Can I use other containers?
Ramekins are ideal, but you can use oven-safe small dishes or cups as long as they’re heat-resistant and can be placed in a water bath.
Can I use a blowtorch from a hardware store for caramelizing?
It’s not recommended to use a hardware blowtorch, as it might not provide the precise control needed for culinary torching. A kitchen torch is designed for safe and accurate caramelization.